Previous Next Sheriff CSM™ Enable Plugins on Assets After you run a scan of your network to discover assets, the discovered assets are saved in the Sheriff CSM database. (For information on asset discovery, see Adding Assets by Scanning for New Assets.) You can then select and enable plugins on the discovered assets. You can enable up to 10 plugins per asset.


-
Go to Environment > Assets & Groups > Assets.
-
Select the asset for which you want to enable plugins.
-
Click the magnifying glass icon (
 ).
). -
Click the Plugins tab.
-
Click Edit Plugins.

-
Select a vendor, a model, and a version of the plugin you want to enable.
- Click Add Plugin.
-
If you want to add another plugin, select another plugin in the same way as before and click Add Plugin; otherwise, click Save.
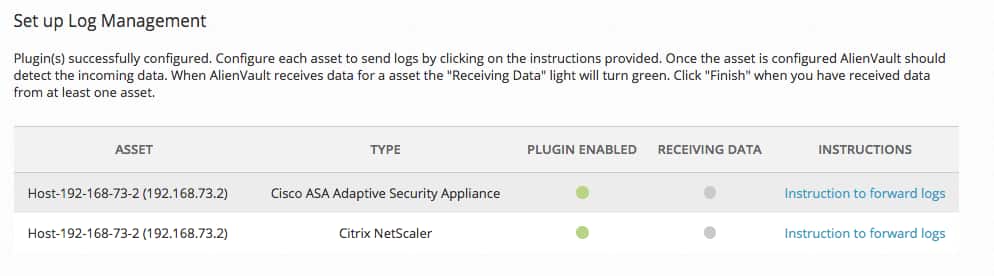
Enabled plugins now appear in the plugin display for the current asset:

The Receiving Data value turns green when the Source, Destination, or Device IP field of an event matches the IP address of the asset.
-
Repeat the procedure for each discovered asset.
Note: Incoming syslog messages for each asset are saved on the Sheriff CSM Deputy in individual
/var/log/sheriff/devices/<asset_IP_address>folders, one folder per asset IP address.


-
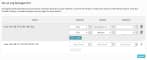
Select the correct Vendor, Model, and Version number corresponding to the data that you want to collect from that asset.
All three fields are required. The Version field defaults to ‘-‘ if no other selection is available. The Add Plugin button is enabled.
-
If you want to enable another plugin for the same asset, click Add Plugin.
Another row is added for you to select the Vendor, Model, and Version number for a different plugin.
-
Repeat step 1 and 2 for each plugin you want to enable. You can enable up to 10 plugins per asset.
- Repeat step 1-3 for each asset.
-
To enable the selected plugins, click Enable.
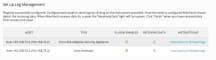
The Log Management Confirmation page, shown in the following illustration, displays the plugins that you enabled. The Receiving Data value turns green when the Source, Destination, or Device IP field of an event matches the IP address of the asset. Gray means that no data is being received.
-
To learn how to configure your assets to send data to Sheriff CSM, click Instructions to forward logs.
After you have enabled plugins for your assets, click Next at the bottom-right corner to proceed.