Previous Next Sheriff CSM™
Modifying a Custom Scan Profile
To modify a custom profile for vulnerability scans- Go to Environment > Vulnerabilities > Overview, and click Profiles.
-
Click the pencil (
 ) icon of the profile you want to modify.
Note: Only admin and global admin accounts can modify a custom profile. Non-admin users can only edit the profiles they've created.
Deep, Default, and Ultimate profiles are default Sheriff CSM profiles that can't be modified.
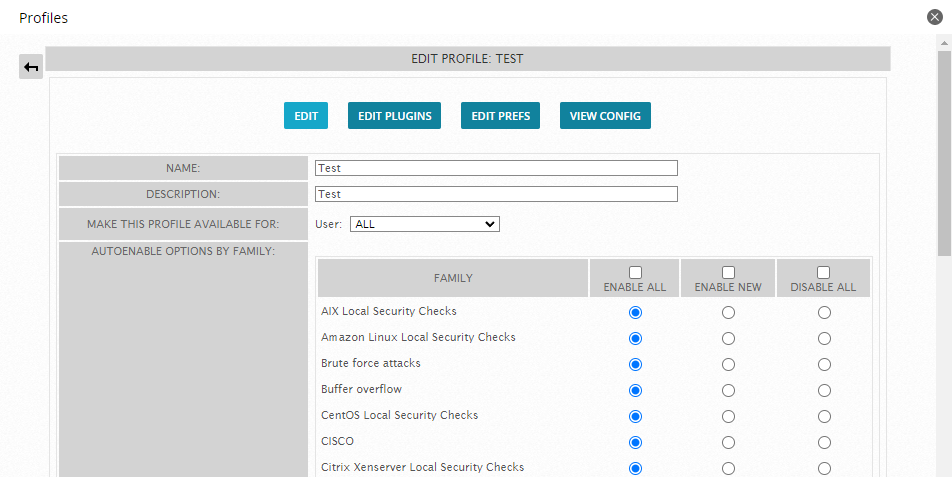
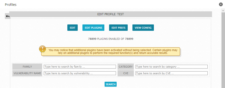
The Edit Profile: <name of profile> popup displays.
-
Modify the settings as needed.
Options available in a custom profileOption
Description
Autoenable
Displays a list of plugin categories or families. Allows users to modify the description, the owner and the auto-enable options.
Plugins
Allows for detailed adjustment of the plugins that the Sheriff vulnerability scanner uses to scan your assets. Sheriff CSM displays the number of plugins available as well as the number of plugins enabled in the current profile.
Prefs
Allows for personalized configuration for each profile.
These preferences are generated dynamically. They may change after an Sheriff Lab Intelligence Update.
View Config
Shows the final configuration.
Sheriff CSM displays the preferences selected in the previous option in plain text.
-
Enable or disable the plugins as needed with the Enable All or Disable All options. Currently, the Enable New, Disable New, and Intelligent options have no designated functionality in Sheriff CSM.
-
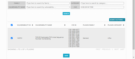
Click Update.
Sheriff CSM displays "Update Status" at the top of the page.
After it completes, the vulnerabilities overview page displays.
-
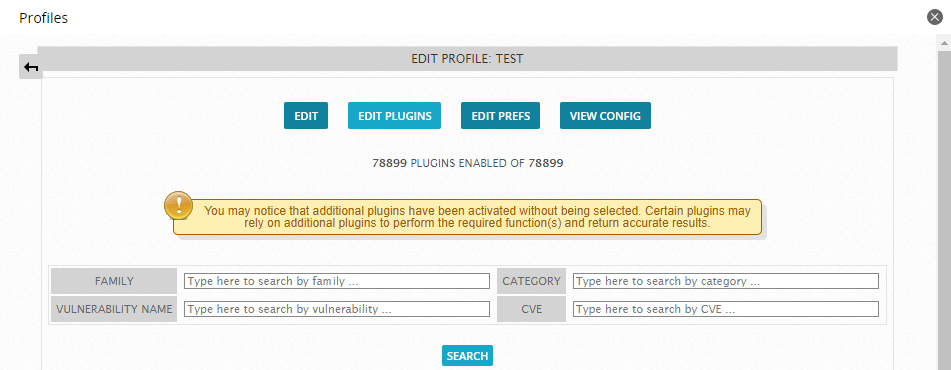
Click Plugins when editing a profile.
Sheriff CSM displays two lists, Family and CVE ID, for you to filter the plugins.
-
Use one of the lists to make a selection, depending on what you are looking for.
Sheriff CSM displays the list of plugins based on your selection.
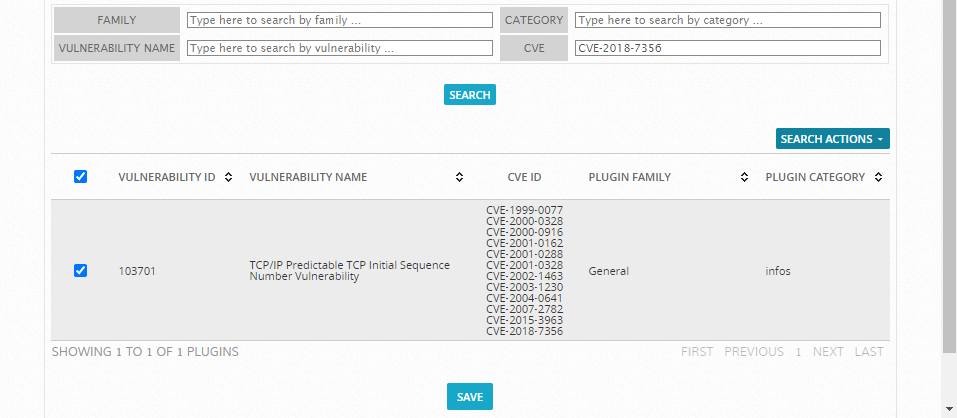
- Select the plugins you want to enable or disable, and then click Update .
-
Alternatively, use the Enable All/Disable All buttons to enable or disable all the plugins belonging to the same group.
Note: If you choose Enable Non DOS, Sheriff CSM only enables the less aggressive plugins, making sure the appliance remains in service, no data is destroyed and no testing services are interrupted.
-
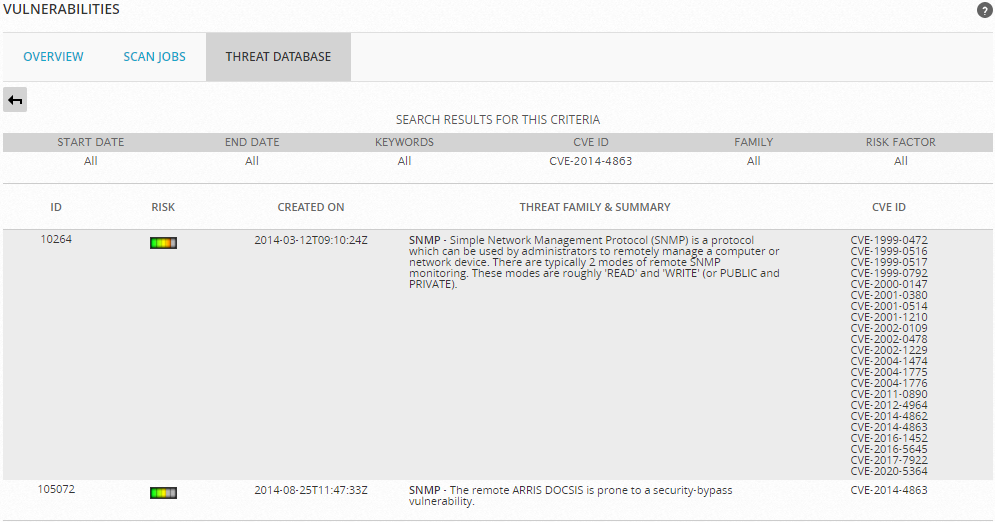
Go to Environment > Vulnerabilities > Threat Database.
Sheriff CSM displays the threat families with the number of plugins in each severity.

-
Use one of the four methods, Date Range, Keywords, CVE ID, and Risk Factor, to search for the plugin you want.
-
Click Search.
This returns a list of the plugins related to the search. Hovering the mouse over an ID will display the plugin details.