Previous Next Sheriff CSM™ Configure a VPN Between Sheriff CSM Systems To set up a VPN between two Sheriff CSM components, for example, between a Sheriff CSM All-in-One and a Sheriff CSM Sensor (Deputy), or between a Sheriff CSM Server and a Sheriff CSM Logger, you need to configure through the Sheriff Setup menu, on the System Preferences > Configure Network > Setup VPN screen:
 Note: You must have comhimpleted the Sheriff CSM registration to see the VPN-related configuration options in the Sheriff Setup menu.
If setting up VPN in Sheriff CSM version 5.0 or earlier, you first enable VPN, then configure the VPN server.
If setting up VPN in Sheriff CSM version 5.1 or later, these tasks are reversed, with the VPN server configuration first, then VPN enablement.
Note: You must have comhimpleted the Sheriff CSM registration to see the VPN-related configuration options in the Sheriff Setup menu.
If setting up VPN in Sheriff CSM version 5.0 or earlier, you first enable VPN, then configure the VPN server.
If setting up VPN in Sheriff CSM version 5.1 or later, these tasks are reversed, with the VPN server configuration first, then VPN enablement.


- Virtual network IP — 10.67.68
- VPN network mask IP — 255.255.255.0
- VPN port — 33800
-
Log in either locally or remotely to the Sheriff appliance that you want to act as the VPN server.
-
From the Setup Main menu, go to System Preferences > Configure Network > Setup VPN > Configure VPN server, then press Enter (<OK>).
-
On the Configure VPN server screen, press Enter (<Yes>) again.
-
Enter a virtual network IP to use and press Enter (<OK>).
Note: By default, the network IP is always 10.67.68.
-
Enter a VPN mask and press Enter (<OK>).
Note: By default the mask is always 255.255.255.0
-
Enter a VPN port and press Enter (<OK>).
Note: By default, it is always 33800.
-
Use the <Back> option and press Enter until the Sheriff Setup menu reappears.
-
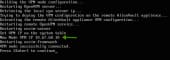
Go to Apply all Changes and press Enter (<OK>)

-
Press Enter (<Yes) to confirm. The system applies the changes and restart the services, then console displays: Changes Applied.
-
Press Enter (<OK>).
-
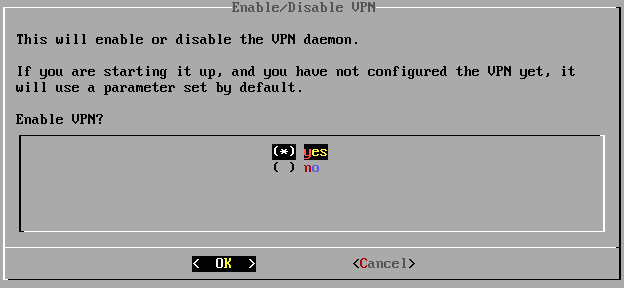
From the Sheriff Setup Main menu, go to System Preferences > Configure Network > Setup VPN > Enable/Disable VPN, then press Enter (<OK>).
-
Use the arrow keys to move the asterisk(*) to "yes", press the spacebar to select, and then press Enter (<OK>).

-
Press Enter (<OK>) again.
-
Use the <Back> option and press Enter until the Sheriff Setup menu reappears.
-
Go to Apply all Changes and press Enter (<OK>).
-
Log in either locally or remotely to the VPN server appliance.
-
From the Setup Main menu, go to System Preferences > Configure Network > Setup VPN > Configure VPN client.
-
Press Enter (<OK>).
-
Enter the Administration IP Address of the VPN client, and press Enter (<OK>).
-
Enter the root password of the remote system, and press Enter (<OK>).
-
Press Enter (<Yes>) to confirm.
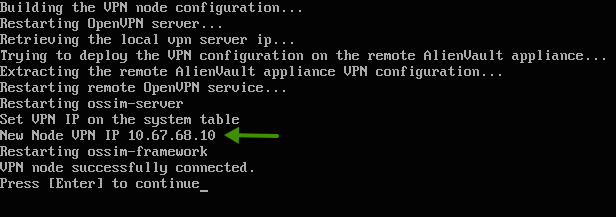
The system confirms that the VPN client node was successfully contacted:
Note: Make note of the VPN IP address, because you will need it for the client configuration task.
-
To continue, press Enter.
 In this case, see Building a VPN Tunnel Without a Client-Server Connection.