You are here: Docs>Sheriff Web>UserGuides>SheriffCSMDocumentation>DeploymentGuide>PluginManagement>ConfigureLogForwardingOnCommonlyUsedDataSources>CiscoACS (28 Jun 2022, SheriffCyberSecurity)Edit Attach
Up
Previous Next Sheriff CSM™
Previous Next Sheriff CSM™
Cisco ACS
When you configure Cisco ACS to send log data to Sheriff CSM, you can use the Cisco ACS plugin to translate raw log data into normalized events for analysis. The table below provides some basic information for the plugin: Plugin Information| Device | Details |
|---|---|
| Vendor | Cisco |
| Device Type | Access Control Server |
| Connection Type | syslog |
| Data Source Name | cisco-acs |
| Data Source ID | 1594 |
Integrating Cisco ACS
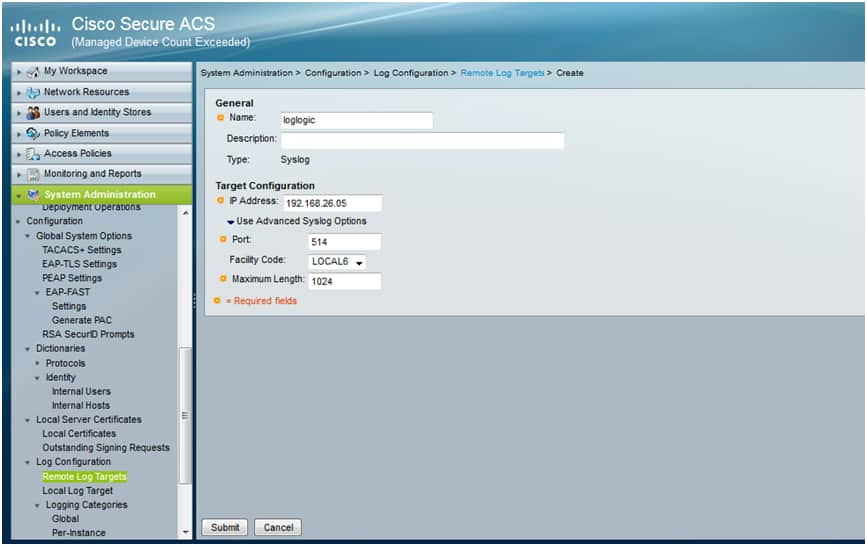
Before you configure the Cisco ACS integration, you must have the IP Address of the Sheriff CSM Sensor (Deputy). To configure Cisco ACS to send log data to Sheriff CSM- Go to System Administration > Configuration > Log Configuration > Remote Log Targets.
-
On the Remote Log Targets page, click Create.
-
Fill out the required fields
- Assign a name to the external syslog server, which in this case refers to Sheriff CSM.
- Enter the IP address of the Sheriff CSM Sensor.
- Select the target type, TCP Syslog or UDP Syslog.
- Enter the port number, 514 for TCP or UDP.
- Enter the maximum length for the log messages. The default value is 1024.
- Click Submit.

- Verify that the remote log target you created appears in the list.
-
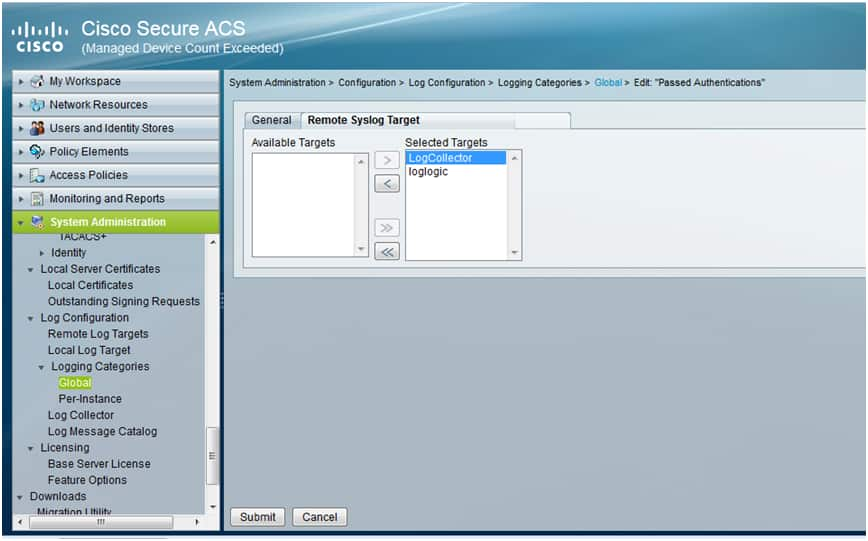
Go to System Administration > Configuration > Log Configuration > Logging Categories > Global.
- Select the logging category you want to use to send logs to Sheriff CSM, and then click Edit.
-
Select the Remote Syslog Target tab.
-
Move the remote log target created in step 3, "loglogic" in the example below, to Selected Targets

- Click Submit.
Plugin Enablement
For plugin enablement information, see Enable Plugins.Troubleshooting
For troubleshooting, see the vendor documentation. https://www.cisco.com/c/en/us/td/docs/net_mgmt/cisco_secure_access_control_system/5-8/user/guide/acsuserguide/admin_config.html#66559Edit | Attach | Print version | History: r16 < r15 < r14 < r13 | Backlinks | View wiki text | Edit wiki text | More topic actions
Topic revision: r16 - 28 Jun 2022, SheriffCyberSecurity
Copyright 2020 Sheriff Cyber Security, LLC. All rights reserved.