Previous Next Sheriff CSM™
Sheriff Vigilante® Installation Process
Download Sheriff Vigilante
The free, open source Sheriff Vigilante® ISO file can be found on the Sheriff Vigilante product page. Download the ISO file and save it to your computer. Before installation, be sure to make sure you have met the system requirements listed below. Sheriff Vigilante does not support paravirtualization, and requires full virtualization for network and storage.Minimum System Requirements
For an installation of Sheriff Vigilante, the minimum system requirements are as follows- 2 CPU cores
- 4-8GB RAM
- 250GB HDD
- E1000 compatible network cards
Install Sheriff Vigilante on a Virtual Machine
Once you've downloaded the Sheriff Vigilante ISO file, you can install it to your virtual machine. To install Sheriff Vigilante-
In your virtual machine, create a new VM instance using the ISO as the installation source.
-
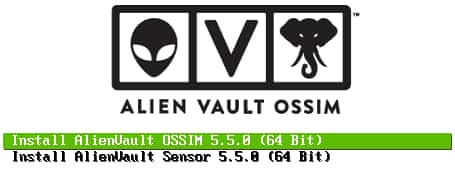
Once you have initiated the new Debian 8.x 64-bit instance, select
Install Sheriff Vigilante (64 Bit)and press Enter.
-
The installation process takes you through a series of setup options. Choose the appropriate options for the following
- Select Language
- Select Location
- Keymap to use
The installation then loads the necessary components and detects settings.
-
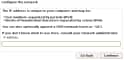
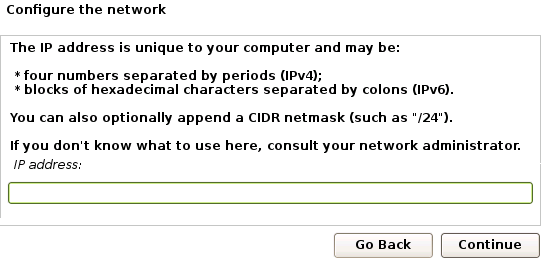
Next, configure the network by assigning the following
- IP Address
- Netmask
- Gateway
- DNS Server Address
The IP address will be the web address you use to access the Sheriff Vigilante web UI.
- The installer will then have you set up the root password. This will be used for the root login account in the Sheriff Vigilante console.
-
The message prompt will have you set up your timezone as the final step.
-
The Sheriff Vigilante is completed by the installer.
-
Open your web browser and type the IP address you used in the setup process into the navigation bar.
The browser may give you a connection privacy warning. If this happens, click advanced and then Proceed to (the IP address you entered).
-
Create an admin account on the Welcome page by filling in all the fields. Click Start Using Sheriff to enter the web UI and begin your Sheriff CSM Initial Setup.
Topic revision: 08 Jun 2022, SheriffCyberSecurity